


Making Corrugated Roofing from Aluminum Foil
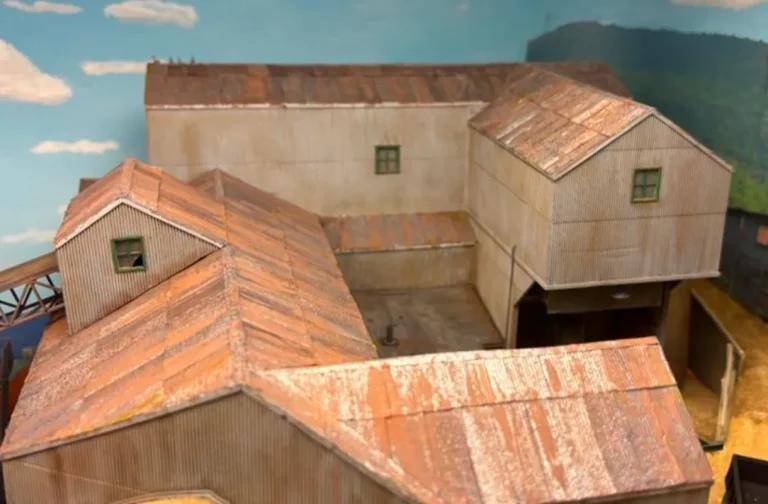
It is easy to make your own corrugated roofing/siding from heavy-duty aluminum foil. The first step is to cut a piece of foil about 6 – 8” from the roll. You need to cut the foil into a scale 36” wide strip (or whatever width you desire). This is easier to do with a jig. For my jig, I used 1/8” hardboard. I cut a 4” X 16” base, then glued a 2” X 10” piece of 1/8” hardboard over the base to create a straight edge for cutting the aluminum foil. This leaves a 2” cutting width.
I then cut a scale 36” wide hardboard piece about 10” long to use as a cutting guide. I put the foil against the straight edge and place the cutting guide over the foil abutting the guide and gingerly cut the foil with a very sharp hobby knife. You may have to make more than one pass. If you are tearing the foil, try a new blade and less pressure.
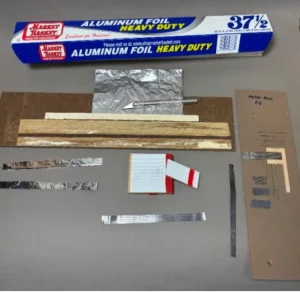
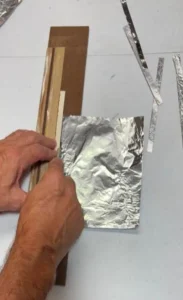
Next, make a jig to score the corrugation in the aluminum foil. For HO scale, I used .030 metal siding styrene from Evergreen (# 4625), you will obviously have to adjust for other scales. I cut a piece of ½” plywood into a 2” X 3” rectangle and glued a piece of the metal siding styrene on one side which forms the base. For the scraper, I cut a piece of 1/8” hardboard into a 1” X 2” rectangle and glued a piece of metal siding styrene to one side.
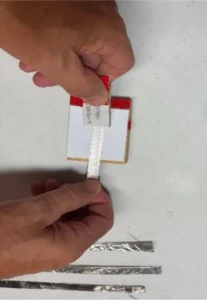
I then take the 36” strip of aluminum foil and place it on the base 2” X 3” block, pinching the foil at one end with my fingers to hold the strip in place. Using the scraper so that both sides of the .030 raised strips face each other, I slide the scraper down the base a few inches, making sure I keep it straight. After a few inches, I then keep the scraper still and slide the strip out so the corrugation covers the complete strip. If the lines are crooked, I repeat the process to get it straight. The trick is to apply enough pressure to make the indents, but not too much to rip the foil. It is easy to figure out after a few tries. This will produce a curl in the strip, which is easy to straighten. Some people like to cut the strips into smaller lengths to prevent curling – your choice.
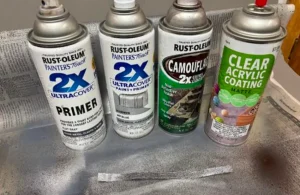 The next step I do is to paint the strips. I start with a flat grey primer, followed by a silver or aluminum light spray (I found the silver seems to give a better color). I then spray a flat camo brown to weather and finish with a matte acrylic spray. You can vary the amount of spray to get different effects.
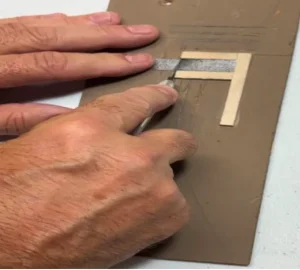
I made another jig to easily cut the strips to length. I used a piece of hardboard and glued strips of basswood to use as a straightedge. I made pencil marks for various lengths – 6’, 8’, etc. To cut the foil I just press the knife down and rock it a bit if needed to make a clean cut. Try not to drag the knife across the piece of foil as it usually will tear the narrow strip.
 After gathering enough pieces for my roofing project, I prepare the roof by applying 3M Transfer Tape, a two-sided tape. Other two-sided tape will also work. After taking off the tape backing, I start at a bottom corner and carefully place the first aluminum foil sheet making sure it is square. A plus using the transfer tape is that you can remove a piece of the foil if it is askew and reposition. The next piece has a slight overlap – usually cover the first crest and trough of the previous piece. The courses above the starter course should have a scale 3” overlap. I just use a ruler to measure to keep the course in a line straight. You may want to stagger the pieces. Placing a piece of painter’s tape or other low adhesive tape on the lower course as a guide will probably remove the paint. I check the alignment every few sheets with a hobby square.
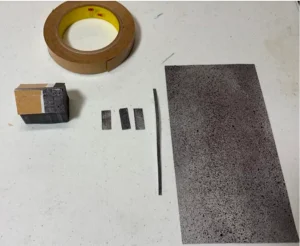 For the ridge cap, I use the same spraying technique on a regular piece of paper. Cut a scale 12” wide strip and cut to desired length with a little overhang to be trimmed after drying. I apply the paper ridge cap with Aleene’s Tacky Glue. Once dry, I apply additional weathering. I usually add washes of raw sienna and burnt sienna depending on desired effect. I complete the weathering by adding Pan Pastels. This is an easy process to get corrugated roofing/siding for your model railroad.