
Upgrading Inexpensive Crossing Signals
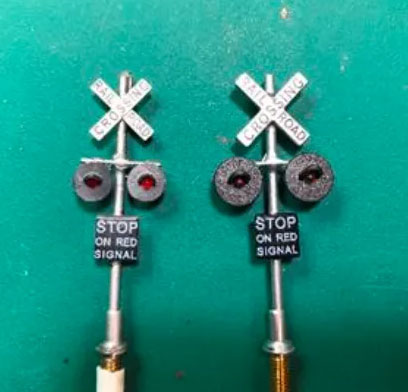
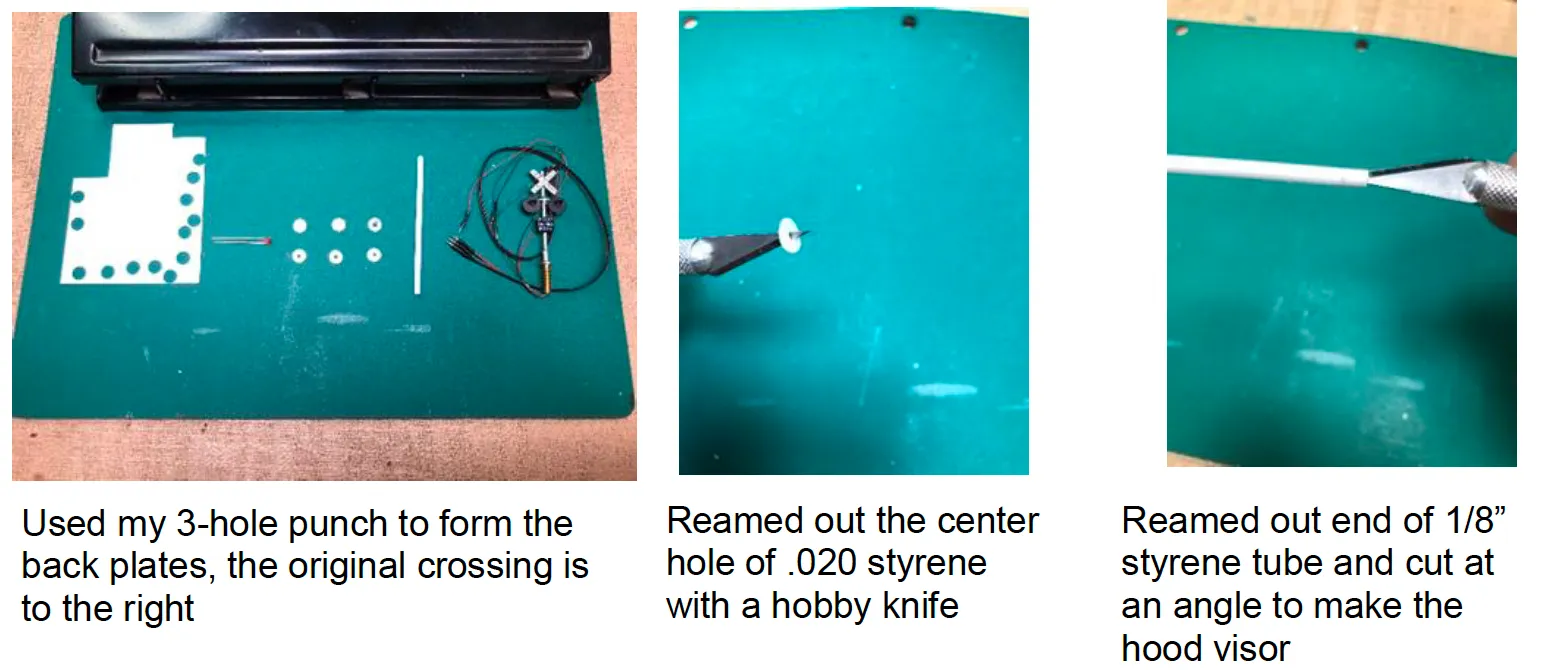
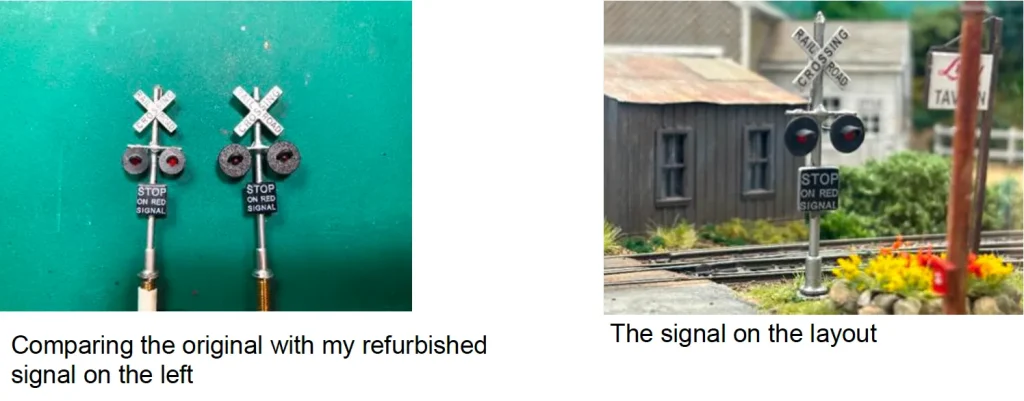
I needed to fabricate the signal head backplates. I used my 3-hole punch which is ¼” in diameter to punch out round heads from .020 styrene. A prototypical backplate is about a 20” diameter. I used a hobby knife to ream out a hole for the bulb and used 1/8” styrene tube as the hood visor. I reamed out one end of the rod with a knife to thin the end being careful not to go too far and split the ends. It took me a few tries to figure this out. I marked off 12” on the 1/8” tube and using the knife I cut it diagonally to form the hood. I glued the hood to the back late with thin wicking cement. Once dry, I painted it black. Lastly, I put a glob of glue on top of the brass mast for an end cap and painted the mast silver. Other manufactures make excellent crossing signals, that are much more prototypical, but for the price these look very good.
I installed the signals on the layout and completed the installation by purchasing a Azatrax MRX3 Crossing Signal Controller and a bell to activate the lights prototypically.